10 Amazing and Easy No-Carve Pumpkin DIYs
This post may contain affiliate links. If you make a purchase through one of my links, I may make a small profit at no expense to you. For further information, please view my policies.
Remember how fun it was every year as a kid to carve pumpkins at Halloween? It was awesome!
But carving pumpkins always seemed easier said than done. Especially as a kid, handling a big knife and trying to cut a pattern out of a giant round pumpkin … let’s just say it didn’t always yield the greatest results! I’m amazed I still have all my fingers! 🤣
Regardless, I always had a blast as a kid and wouldn’t change a thing from my childhood!
No-Carve Pumpkins
Now as an adult, I’m looking to try something a little different.
I don’t want to break the tradition of using a Halloween pumpkin, and I’m looking for something a bit glam and fabulous!!
I thought I’d turn to the no-carve idea, and see what amazing pumpkins can be created without needing to whip out the carving knife!
Easy, Fast and Inspiring No-Carve DIYs
These are some of the most inspiring no-carve pumpkin DIYs I found – most of these DIYs involve painting your pumpkin a base color (usually black or white), but you could totally just skip that and use the traditional orange if you wanted!
You could also use faux plastic pumpkins for many of these since you’ll just end up painting them anyways. The cool part about using a faux pumpkin is that you can save it for future use.
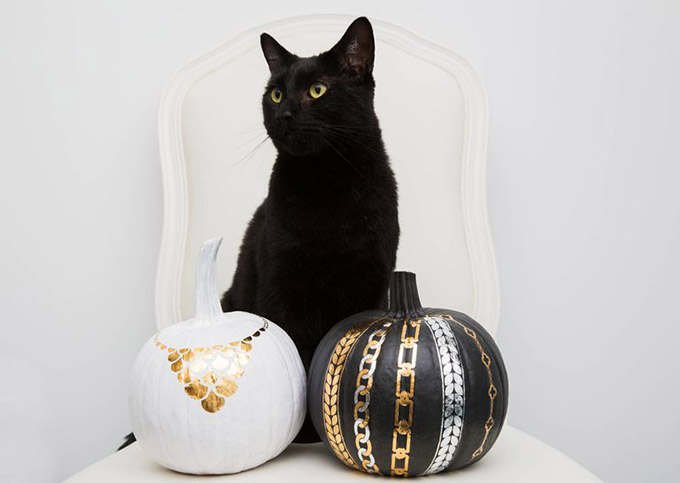
Flash Tattoo Pumpkins
↑
What you need:
– Pumpkins
– A pack of flash tattoos
This is a great idea, and really fast! Just paint your pumpkins black and white and apply these nifty flash tattoos!
I happen to have about a zillion of these temporary tattoos lying around because I bought a giant pack of them awhile ago, so for me this idea would be great to try this year.
You can find packs of flash tattoos really cheap here.
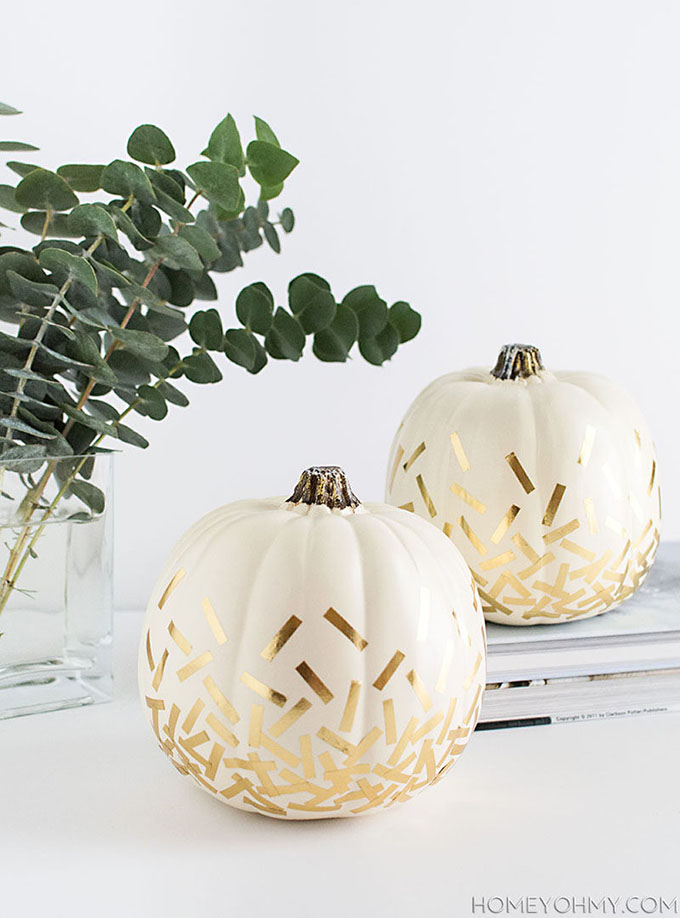
Washi Tape Pumpkins
↑
What you need:
– Pumpkins
– Gold washi tape (I love this set of 6 from Amazon!)
Ok so there are about a million different ways you could decorate a pumpkin with washi tape! But I love this simple idea from Homey Oh My. They call it a confetti pumpkin because the washi tape strips look like gold confetti!
It will take awhile to cut up all the pieces of tape, but the result is so pretty and modern! Again, just paint your pumpkin white (or off white) and go crazy with the gold tape! Homey Oh My has a great tutorial here if you want to check it out.
I get all my washi tape from AliExpress because pretty much all rolls are under 2$ each! There are a ton of choices.
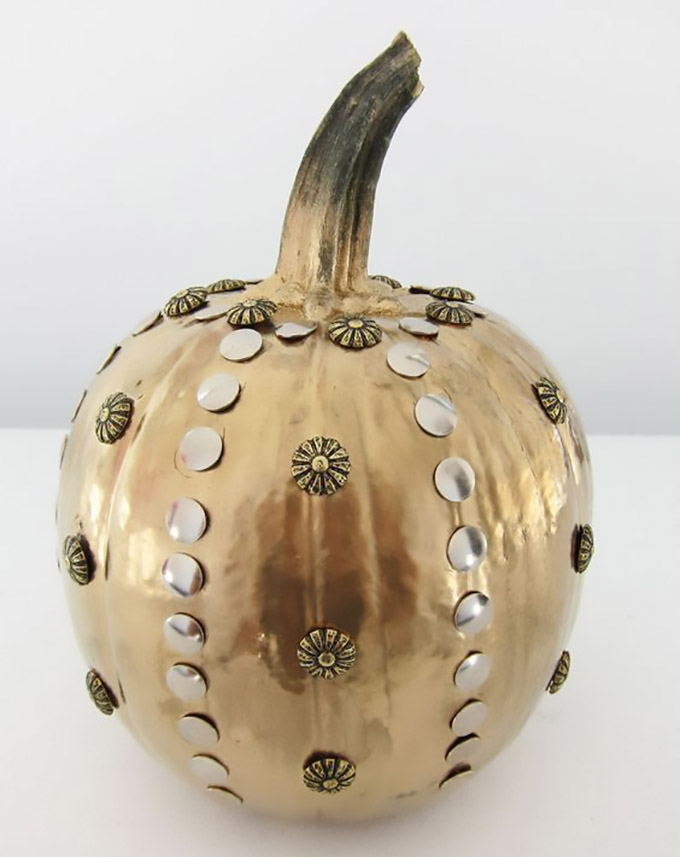
Bedazzled Pumpkins
↑
What you need:
– Pumpkins
– Gold spray paint
– Gold buttons
– Flat silver buttons
– Gold studs (optional)
Spray your pumpkin gold, then glue on or poke in metallic buttons of different shapes and sizes. Or use studs for a glam-punk pumpkin! 🤣
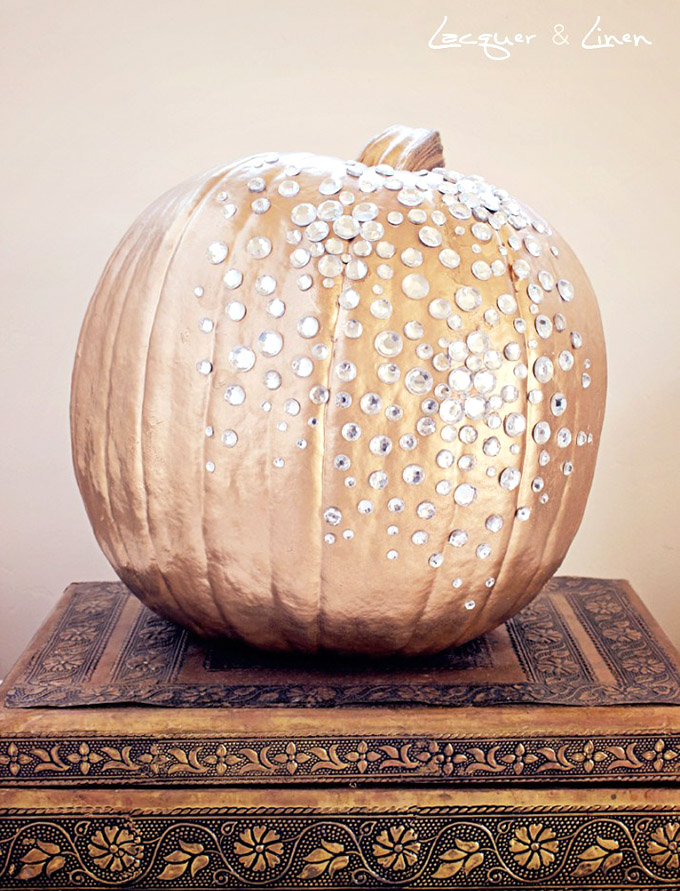
Rhinestone Pumpkins
↑
What you need:
– Pumpkins
– Rose gold spray paint
– Round clear rhinestones, mixed sizes
Similar to the bedazzled pumpkins above … I just cannot get over how glorious this jeweled pumpkin looks. I’m the human version of a magpie, so this idea is right up my alley.
I found this through Lacquer and Linen. Unfortunately their website no longer exists, so I can’t point you to a tutorial!
But this is super easy to pull off – just spray paint your pumpkin with your favorite rose gold spray paint and glue on clear round plastic jewels of a few different sizes. Of course you could choose colored jewels or any other color spray paint you wanted, but I just love this combo so much!
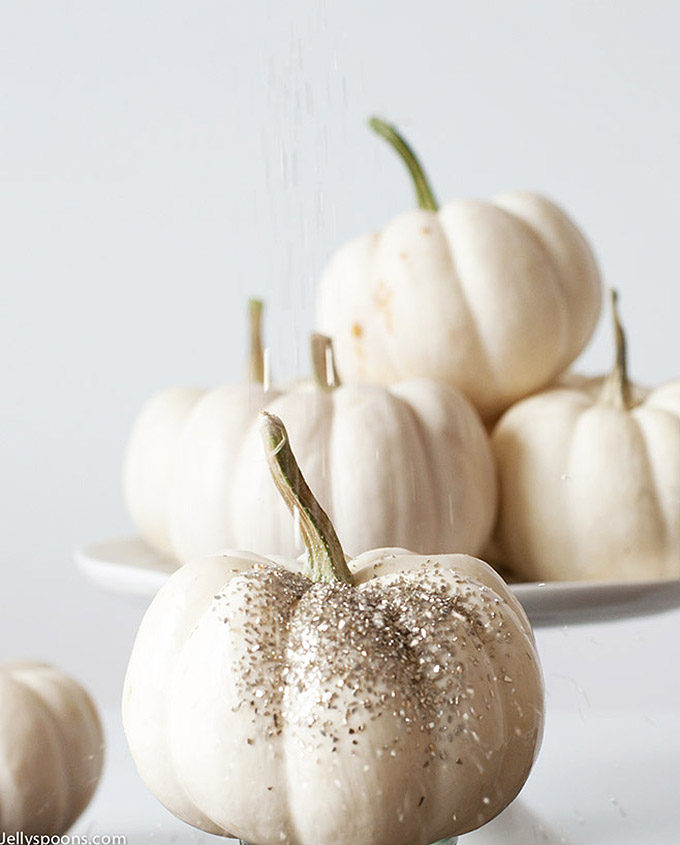
Glitter Pumpkins
↑
What you need:
– Pumpkins
– Glass glitter *OR* regular craft glitter
So let’s just caveat that glitter is really bad for the environment. A lot of people understandably get upset over glitter crafts. But I if I am going to make a glitter pumpkin, I am going to save it and reuse it for years to come, so I don’t feel quite so bad about using it.
You can find the tutorial for glitter pumpkins here. Lucy recommends using glass glitter but if you happen to be doing this craft with children, you will probably want to stick with regular glitter.
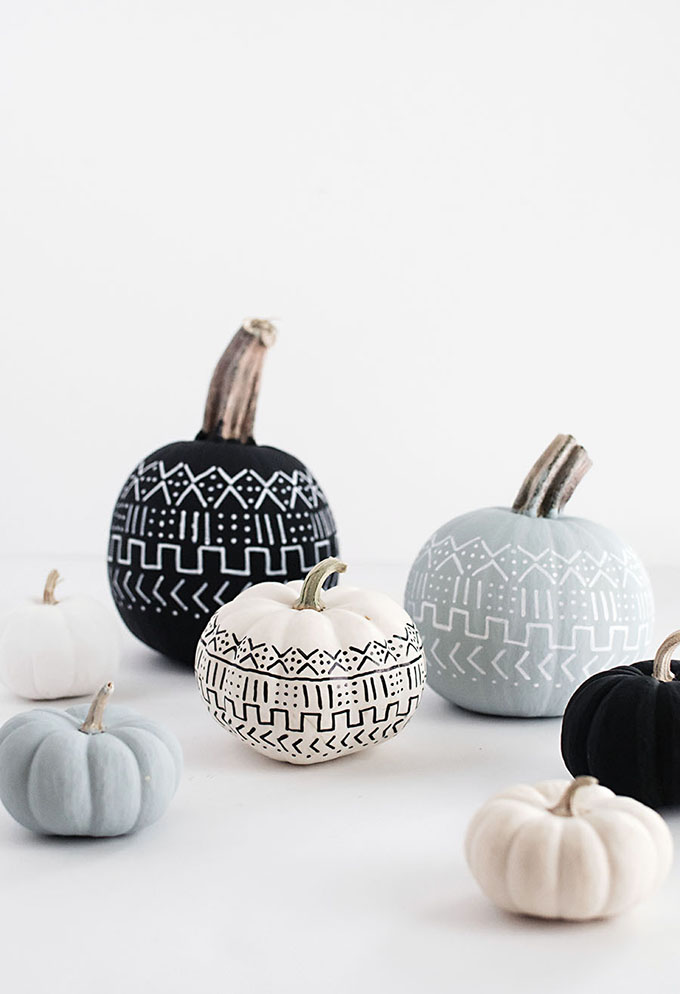
Sharpie Pumpkins
↑
What you need:
– Pumpkins
– Your favorite base paint color for pumpkins
– Oil based paint pens in black and white
Also from Homey Oh My are these fabulous sharpie pumpkins! It doesn’t get easier than this. And it looks great! Here is the tutorial.
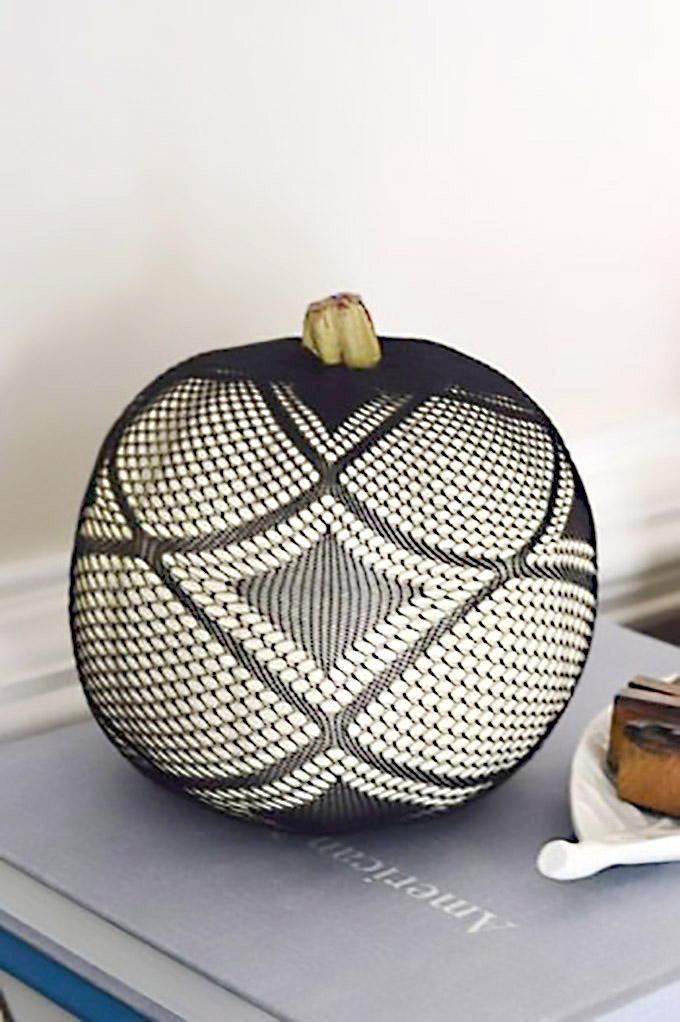
Fishnet Panty Hose Pumpkins
↑
What you need:
– Pumpkins
– Fishnet panty hose or patterned tights
Finally, a use for all my abandoned fish net tights! 😂 Seriously though, I love this idea I found on Young House Love! The patterns that the tights create over the pumpkins are chic but are also reminiscent of spider webs – perfect for Halloween! You could even attach a single fake plastic spider to it if you wanted to have a little more “Halloweeny” fun with it. Tutorial is here.
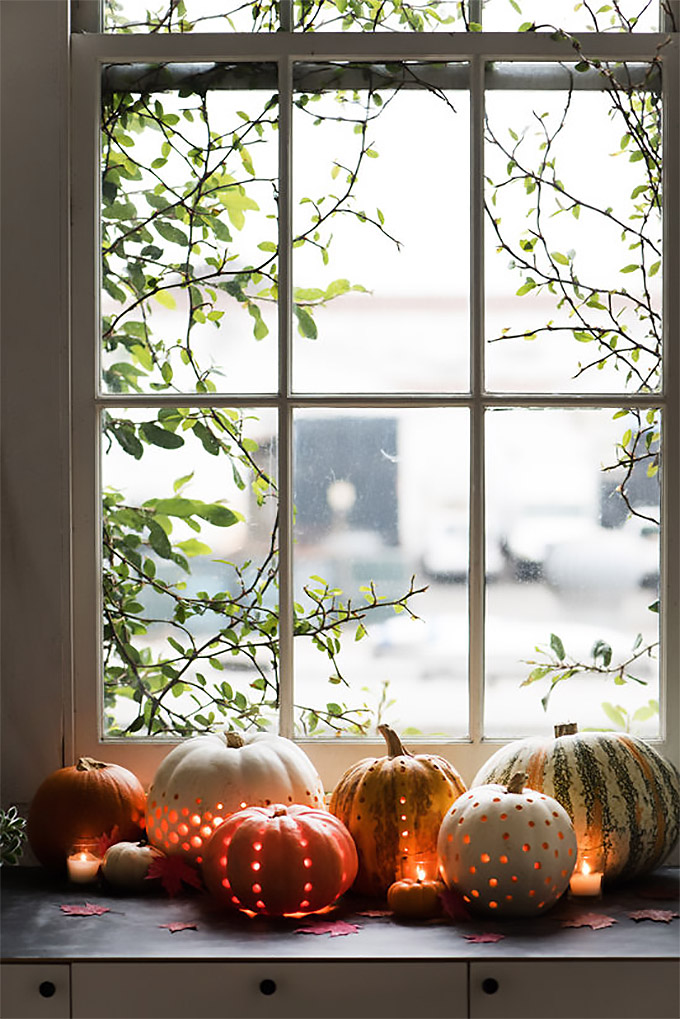
Power Drill Pumpkins
↑
What you need:
– Pumpkins
– Power drill
I have come across some stunning pumpkins that simply consist of drilled holes! Often the holes are different sizes and follow some kind of simple pattern. They look beautiful when they are lit up at night. This still technically counts as a no-carve, since no knives are involved! 😅 The original website no longer exists but the execution is simple: take drill, drill holes into pumpkin. Done!
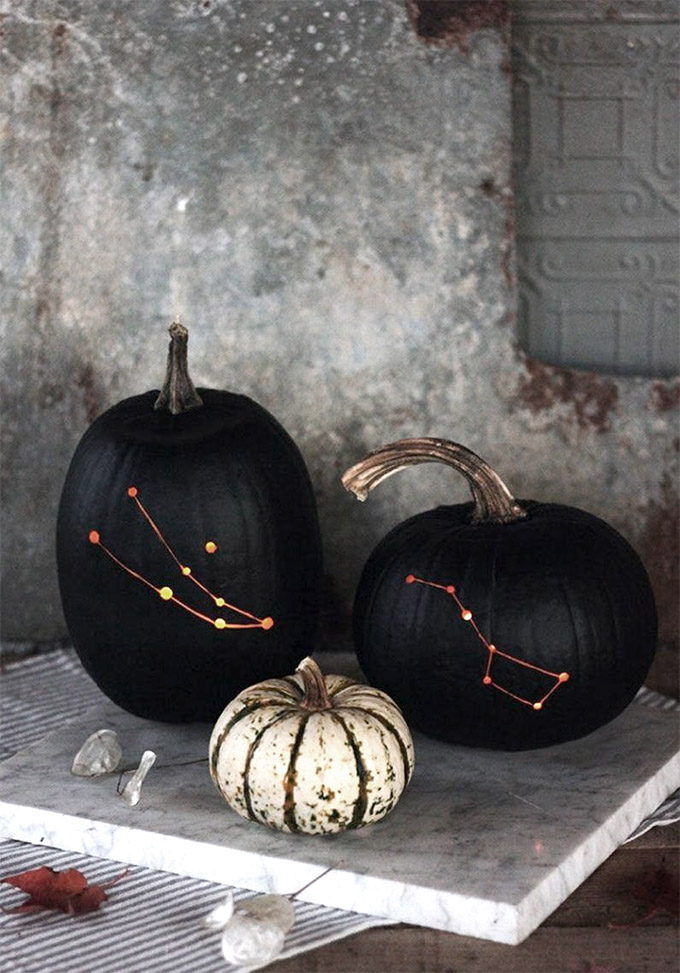
Constellation Pumpkins
↑
What you need:
– Pumpkins
– Black paint
– Gold paint for stems
– Power drill
– Battery operated string lights
You’ll need your power drill for this one too! Once you drill the holes in the shape of the constellation of your choice, you just add in some little battery operated string lights inside the drilled holes so that they look like stars in the constellation points. Doesn’t it look absolutely stunning?
You can check the full tutorial here. The tutorial suggests using chalk paint and chalk, but I would just use regular black paint and a white paint sharpie instead.
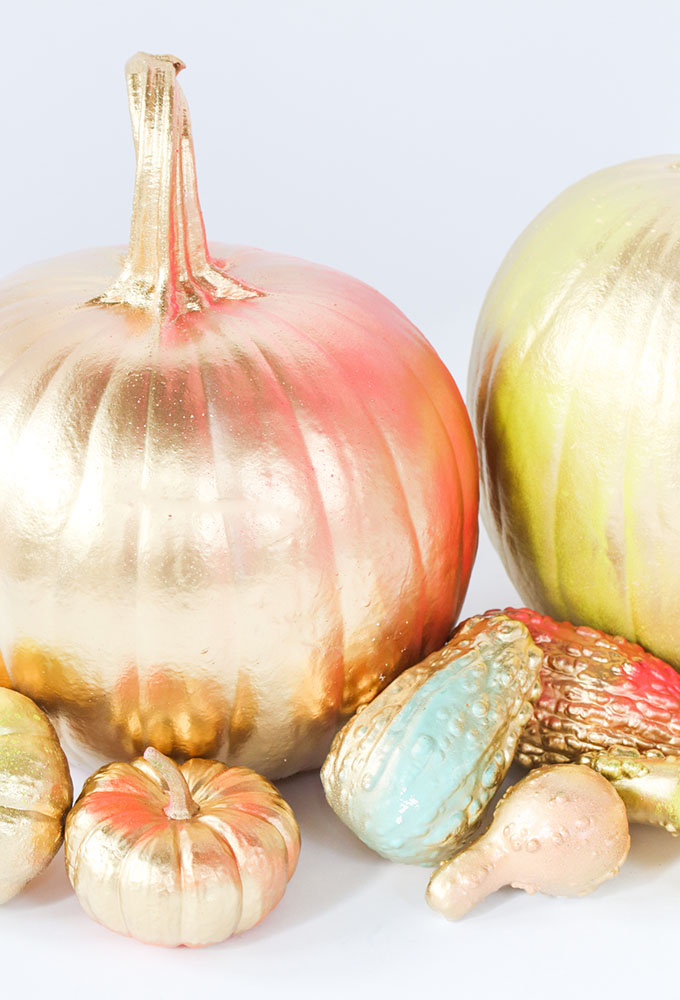
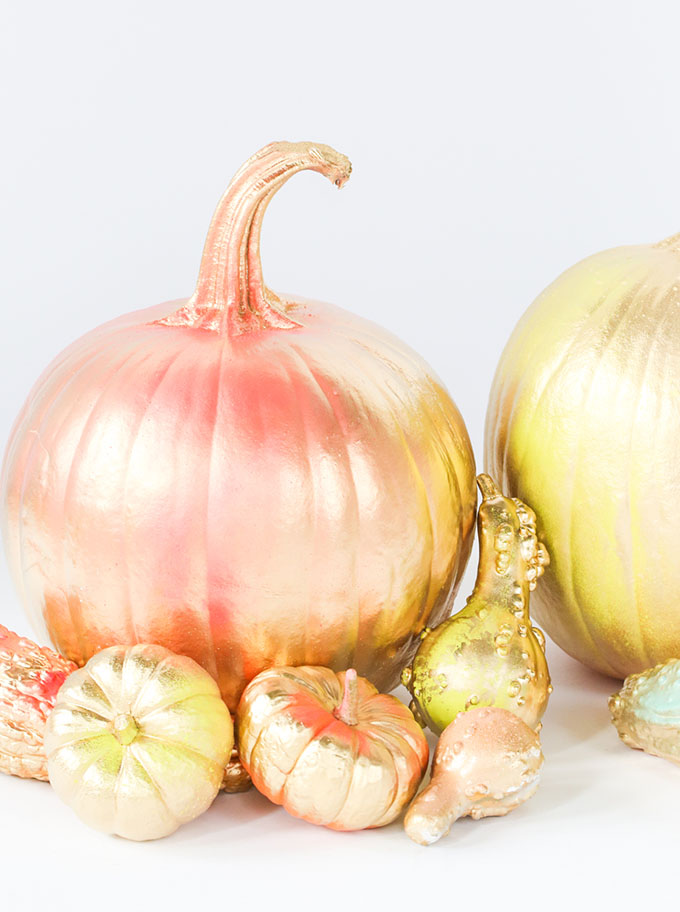
Neon Metallic Pumpkins
↑
What you need:
– Pumpkin
– Gold spray paint
– Pastel spray paint*
– Neon spray paint*
* I always recommend Montana spray paints for neon and pastel colors – check out their incredible color range here
And I’ve been saving my favorite no-carve pumpkin DIY for last – these STUNNING pastel and golden gourds will be sure to steal your heart.
They were created solely with gold, neon and pastel spray paint and they are absolutely gorgeous! The tutorial on how to make these beauties unfortunately can no longer be found online, as the original website no longer exists.
But basically you 1) buy spray paint, 2) spray it on in thin misty layers… give it a try!
Now it’s time to get crafting! Which one of these DIYs will you chose? Have fun and happy Halloween!! xx