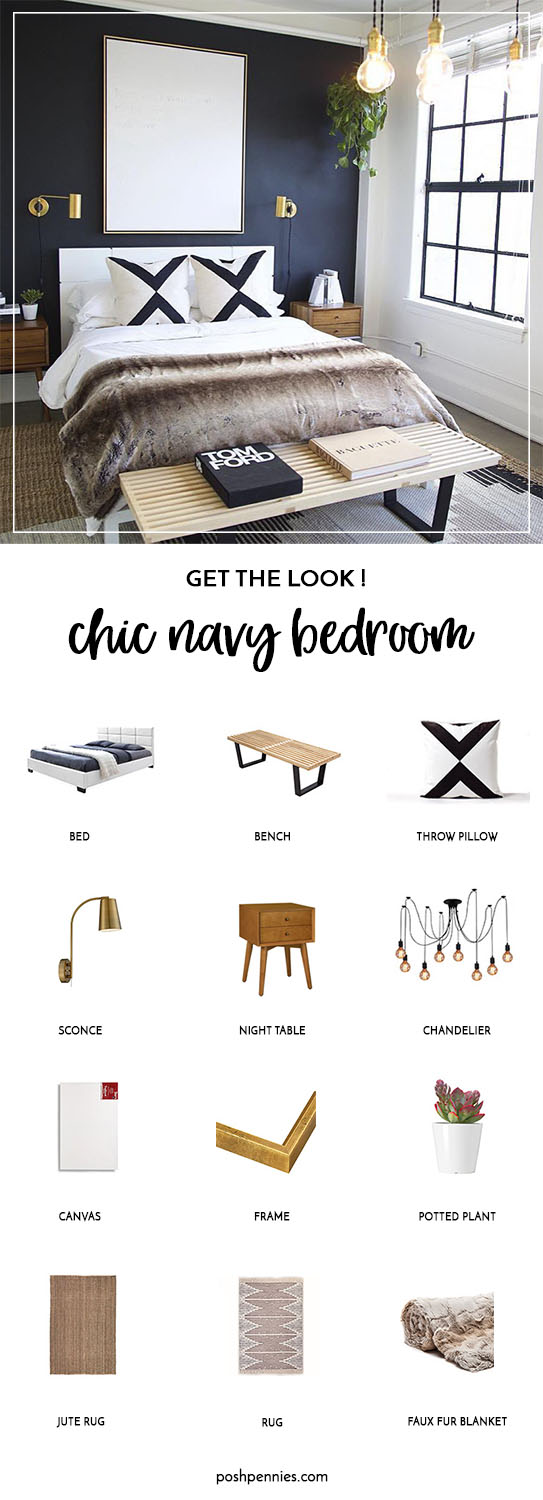
Get The Look: Fabulous Chic And Modern Navy Bedroom
This post may contain affiliate links. If you make a purchase through one of my links, I may make a small profit at no expense to you. For further information, please view my policies.
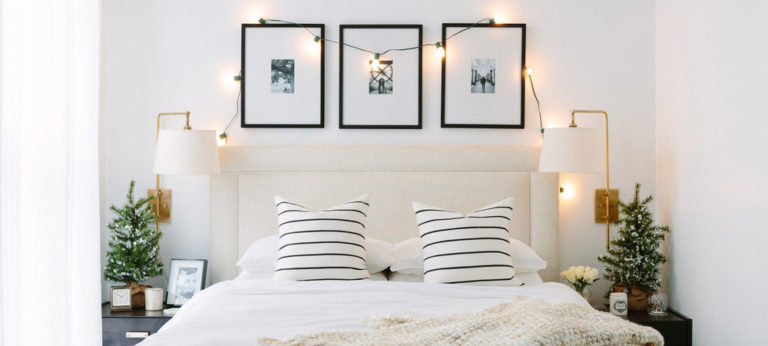
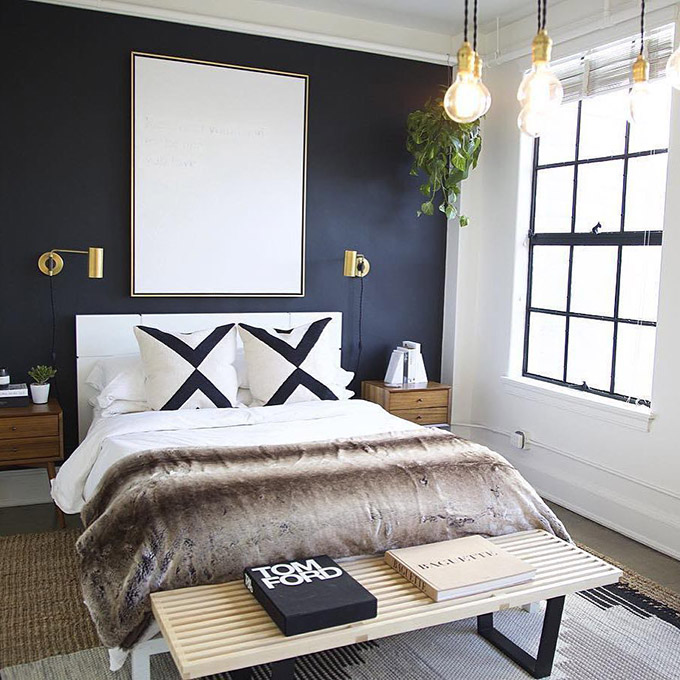
This beautiful navy bedroom designed by JDP Interiors is definitely a bedroom I can get on board with!
GET THE LOOK WITH THESE ITEMS ↓


TOTAL: $1458
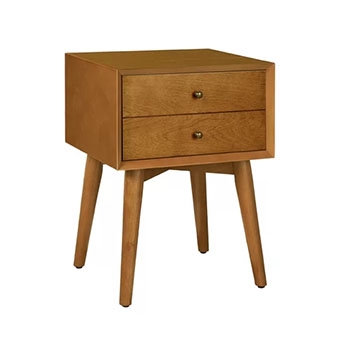
The navy blue accent wall behind the bed is very bold and striking, creating a gorgeous and elegant backdrop for the crisp white bed and artwork and the warm wood mid-century style night tables.
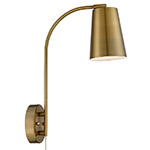
The gold accents from the frame, wall sconces and chandelier add a little bit of bling and warmth without overdoing it. This is such a clever us of the rule of three! Read about the Rule of Three in interior design here.
I adore the look of the hanging plant in the corner, but I probably wouldn’t add one to my room. I’m too short to be able to water it frequently and might end up killing it. 😅 I prefer my plants within easy reach! #shortpeopleproblems
If you are less lazy/taller than me, then check out this list of unkillable indoor hanging plants!
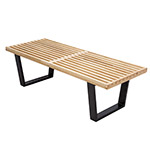
The bench at the foot of the bed is a replica of the iconic George Nelson Platform Bench.
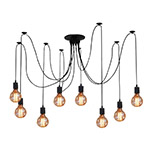
How To DIY The Chandelier
The original chandelier used in this room is $499.00, you can check it out here. It’s quite unique! I wasn’t able to find anything quite like it that fit within a smaller budget.
If you don’t like the one I picked above, and you want something closer to the original chandelier, it’s possible to DIY it pretty easily for a fraction of the cost!
It won’t have the exact same “tangled” look as the original because the wires aren’t long enough to wrap around the hoop, but the spirit of the style will be the same!
Here’s how:
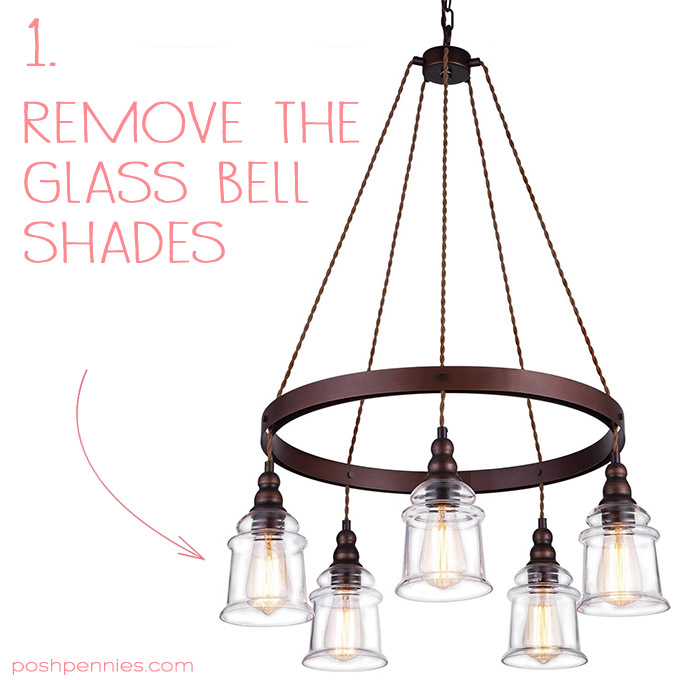
- Start with this chandelier from Amazon.
1. Remove the glass bell shades.
2. Spray paint the hoop, bulb sockets and top attachment piece in gold. Depending on how much or little you can disassemble it, you may need to carefully mask off some areas so that you don’t accidentally spray paint parts that you didn’t mean to.
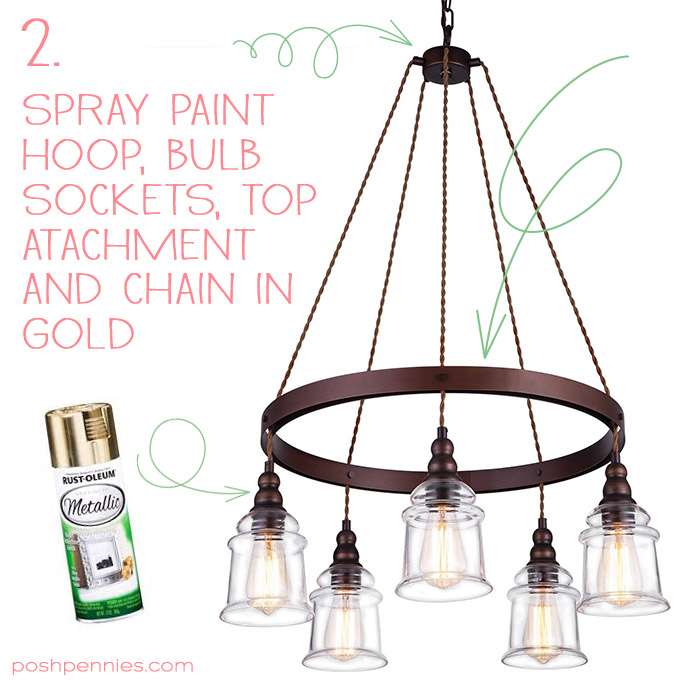
3. Let dry several hours. Then remove masking tape if you used any.

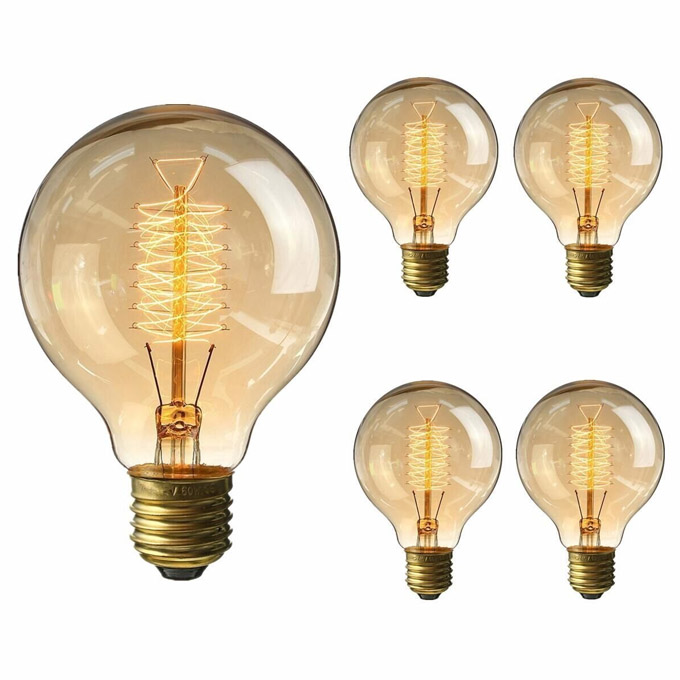
4. Put in some big round Edison bulbs and you’re done! (get the correctly sized bulbs here or click on the image below)
How to DIY The Artwork Above the Bed
Lucky for us, the super chic artwork above the bed could not be easier (or cheaper!) to recreate.
All you need to do is frame a plain white canvas! I think a 24″ x 36″ canvas would be big enough, but you can experiment with different sizes to fit your space.
If you feel like hanging a blank canvas above your bed is a taking minimalism a little bit TOO far, you can add some visual interest to the canvas yourself very easily.
Just take some white (or off-white) paint, and with a large paintbrush, roughly brush the surface of the canvas. You can use a regular paintbrush that you use for painting your walls. It doesn’t have to be anything fancy!
You could do a couple of layers of paint if you want. The added paint and brush strokes will add some visual interest to the canvas while still remaining clean and white.
The trick to getting the ultra-polished look that you see in the photo is to get a floating frame. Floating frames are made specifically for canvases. They leave that beautiful gap between the edge of the canvas and the frame, which gives the illusion that the canvas is “floating” within the frame.
If you enjoyed this post, come check out my other room redos here! xx
Hey there!
Did this article give you some great ideas or teach you something new? Help me keep the content coming! Simply bookmark my Amazon link and then just click it before you shop on Amazon! Every purchase you make could earn me a tiny commission, at zero extra cost to you! Your incredible support keeps this little website alive and thriving. Much love, thanks a bunch! 🌟